 Those months of waiting for your baby to arrive are some of the most exciting (and painful) of your life. If it’s your first baby, each month brings something new. (That was a good thing for me when my pregnancy sickness finally eased around week 20!) And toward the end of your pregnancy, something happens: nesting! Nesting is a very real symptom of later-term pregnancy common to many, if not most, pregnant women. It often manifests itself in the urge to clean (the toilet, the van, the windowsills, the refrigerator, behind the couch). And usually there’s an accompanying burst of energy that helps compensate for your aching back and muscles. You feel like there are so many things to do before your baby is born, but you may not be sure how to prioritize them.
So how should you use that long-missed burst of energy you suddenly have back? Here are some suggestions:
Things to Do Before Your Baby is Born
1) Clean hard-to-access places as soon as possible (between throwing-up-all-the-time stage and so-big-you-can’t-fit-anywhere stage).
Those could include:
- ceiling fans (be careful about climbing things, especially if you frequently experience dizziness)
- behind couches (get those dead bugs out of there!)
- the floor on either side of your appliances, such as washer/dryer, refrigerator, stove, or dishwasher if it’s free-standing
- inside light fixtures–if you can reach them. (I’m talking about the spiderwebs hanging from the lamp–you have them, too, right?)
2) Take care of plants/garden.
If you need to repot a houseplant that’s getting too big for its pot, this is the time. You won’t feel like bothering with it for quite a few months after the baby’s birth. Be careful about doing any heavy work in the garden/yard, but this is a good time to take stock.
3) Clean your vehicle(s).
You won’t feel like it later, I promise. I realize you don’t feel like doing it now, either, because you’re so big you can hardly fit behind the steering wheel to drive, much less clean the inside of the windshield. But you are probably aching to see it all clean in time for that new carseat.
4) Wash windows and clean windowsills.
I didn’t manage to wash the outside of the windows. It was a million degrees outside during my whale-stage, and I don’t like climbing ladders (even small stepladders) when I’m NOT pregnant. But getting noticeable smears and dust collection spots out of the windowsill corners will make you feel better. Who knows? You may not get to them again before your baby can pull up on those windowsills.
By the way, if your carpets haven’t been cleaned in a long time, this might be a good time to do that. You will soon have a little crawler!
5) Stock your pantry.
Our house is too small to have an actual pantry, so I use some of our cabinet space for food. I made a shopping list for staples to have on hand for quick meals. Some of those staples were:
- rice
- pasta
- oats
- flour
- sugar
- canned tomatoes
- canned beans (pinto and black beans)
- dried fruit
- granola bars
- healthy granola mixes
- mixed nuts for a quick protein boost (your nursing body will need it!)
- macaroni and cheese (I know, it’s not healthy, but it’s so easy for when you can hardly get out of bed!)
- olive oil, vegetable oil, and grapeseed oil (I use all these regularly, and didn’t want to run out for quite a while.)
6) Freeze some entire meals ahead of time.
For some ideas, read my post on lactose free freezer meals. Even if you’re an adventurous eater, consider making some meals that are a little more bland in case your baby’s tummy has problems with a particular food. (For Baby J, bell peppers and dairy both caused problems. I had warning during the pregnancy that dairy might be an issue, but it was a shock when we had several sleepless nights of constant crying after bell peppers were on the menu.)
7) Make sure you have everything the baby will need BEFORE the last minute.
Your baby may decide to come a few weeks early, so it’s good to have the nursery (or closet, or whatever you’re able to set up) ready and the carseat installed in the car. (Yes, the carseat is important!) Read our list of the things we’ve used most for our baby if you’re not sure you’ve remembered everything. (We rated them from 1-10 so you can see what’s most important.)
8) Clean any old condiments, etc. out of your refrigerator and freezer.
Take it one shelf per day if you need to!
9) Stock up on household supplies.
If you have a difficult time healing post-birth, as I did, you won’t be able to lift heavy things for a while and you may have very little energy. I was so glad I had grabbed some of these things (or asked my husband to) before Baby J arrived! We bought in large quantities from Sam’s or Amazon.
- toilet paper (lots of it for each bathroom–you’ll probably be having plenty of guests eager to see the baby, and they’ll use TP!)
- flushable wipes (just for those first few weeks!)
- paper plates and plastic cups (I’m normally environment-friendly, but I was so thankful for paper plates during those first few weeks after my mother-in-law had to go back home!)
- body wash or soap (I suggest you think more clearly than I did and buy a variety WITHOUT little abrasive beads in it. Something very, very soft is what you’ll want!)
- paper towels
- cleaning supplies
- laundry detergent
- toothpaste (take care of your teeth while the baby is stealing all your extra nutrients/minerals, including calcium!)
- dental floss
10) Buy underpads for your bed.
We were SO thankful we had these disposable underpads. (If you’re having a homebirth, you may want to ask your midwife if she provides extras of these. We had a hospital birth, so no extras for us!) When I no longer needed them, we would let Baby J lie on them when his bottom needed to dry out after an especially bad rash. (Pre-crawling days, of course!) By the way, these probably won’t be needed for incontinence. Just saying…don’t worry about that being your post-baby fate! 
11) Buy a pack (or two) of thank you notes.
I was so glad I had lots of blank thank-you cards on hand, because so many people did kind things for us like bringing meals, gifts, etc.
12) Attend birthing classes if they’re available.
Some friends of ours went through the whole Bradley method class and found it very helpful. We didn’t have many options in our area, so we just attended our hospital’s one-day birthing class. It helped us know what to expect on delivery day.
13) Fill out paperwork for the hospital ahead of time if possible.
Unfortunately, our hospital wasn’t very helpful in this area, so I thought they told us it wasn’t possible and then later learned we could’ve done it all. When I arrived at the hospital, I was only 1 1/2 hours away from delivering and I was shaking so hard with the labor pains that I could hardly sign the stacks of paper they handed to me.
14) Create a birthing plan–and then be flexible!
Our birthing plan never even came out of the suitcase because Baby J was in such a hurry to arrive. But I had already prepared myself for the possibility that very little would happen the way I wanted it to, so I was fine. I had a healthy baby, and that was all that mattered. However, it’s a good idea to have a birthing plan so you know what questions to ask your midwife or doctor. Remember, if you’re going to have a hospital birth, the hospital has certain rules in place that it probably won’t bend no matter how firmly you insist on your birthing plan. (In our case, I thought I would want to move around the room, but our doctor told us that after a certain point I would be confined to bed because of hospital policy.) Here’s a good example of a birthing plan checklist from The Bump.
15) If you’re planning to nurse, buy some nursing-friendly and postpartum-friendly clothing.
- 2 or 3 nursing bras for daytime
- sleep nursing bras (more comfortable and easy for night-nursing without having to unclip anything)
- nursing pads (disposable or washable–I love the washable ones)
- these cooling pads (these feel absolutely miraculous around days 3-7 of nursing)
- soft sweatpants or loose skirts (only get leggings if they’re not tight up top at ALL)
- a couple of nursing friendly tops/dresses (for ideas, check out the collection I’ve made of nursing-friendly clothing on Pinterest)
- if you’re a first-time mama and expecting some fairly significant discomfort at first, try this Lansinoh product. I preferred it to be frozen instead of warm.
16) Decide on a nursing pump/find out if your insurance company will pay for one.
If you’re planning on working soon after the baby comes but still want to breastfeed, it might be worth it to buy an electric one like this industry standard. I just use a small manual pump because I don’t need it that often. Call your insurance company (or look at its website) to find out if it will pay for your pump.
17) Pack your bags!
- first clothes for baby (we had already found out J was a boy, but I packed a gender-neutral onesie as

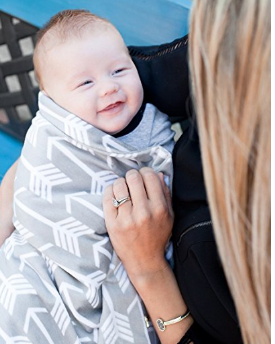
Soft gray blanket from Amazon.
well, just in case!)
- power snack for after birth, when you’re starving (dried fruit, nuts, low-sugar granola bar–I made the mistake of bringing a Clif Bar with a ton of caffeine in it, so check labels! Also a snack for the new Daddy–like his favorite candy! He’s going to be super tired after the birth, even though he just watched and supported you.)
- clothes for you (flip-flops for getting back and forth from the bathroom/showering in, warm socks incase the hospital is cold, a soft robe, some of that soft nursing-friendly clothing you just bought…)
- toiletries (That first shower is heavenly! Trial-sized shampoo, body wash, toothpaste, a toothbrush, dental floss.)
- an extra T-shirt/underwear/shorts for your husband (Baby J peed all over my husband right after birth!)
- light blanket for baby, especially if the weather is cold and you want him/her to be all bundled up between hospital and car
18) Wash, fold, and organize your baby’s clothes.
I didn’t wash clothes that people had given us for 6 months or older, but anything in newborn or 3 month sizes got washed, as well as sheets, bibs, spit-up cloths, etc. For the first 6 months of Baby J’s life we had to use Dreft to keep his skin from breaking out, so I’m really glad I prewashed with that. Now, we’ve switched to the much-cheaper All detergent.
Baby socks and tiny hats/gloves can get really messy, so I bought little plastic baskets to stick inside the dresser so they wouldn’t get lost among the onesies.
Get a completion discount on your registry if the baby is born and you still have things you need to buy!
Finally…relax and don’t stress out about the list!
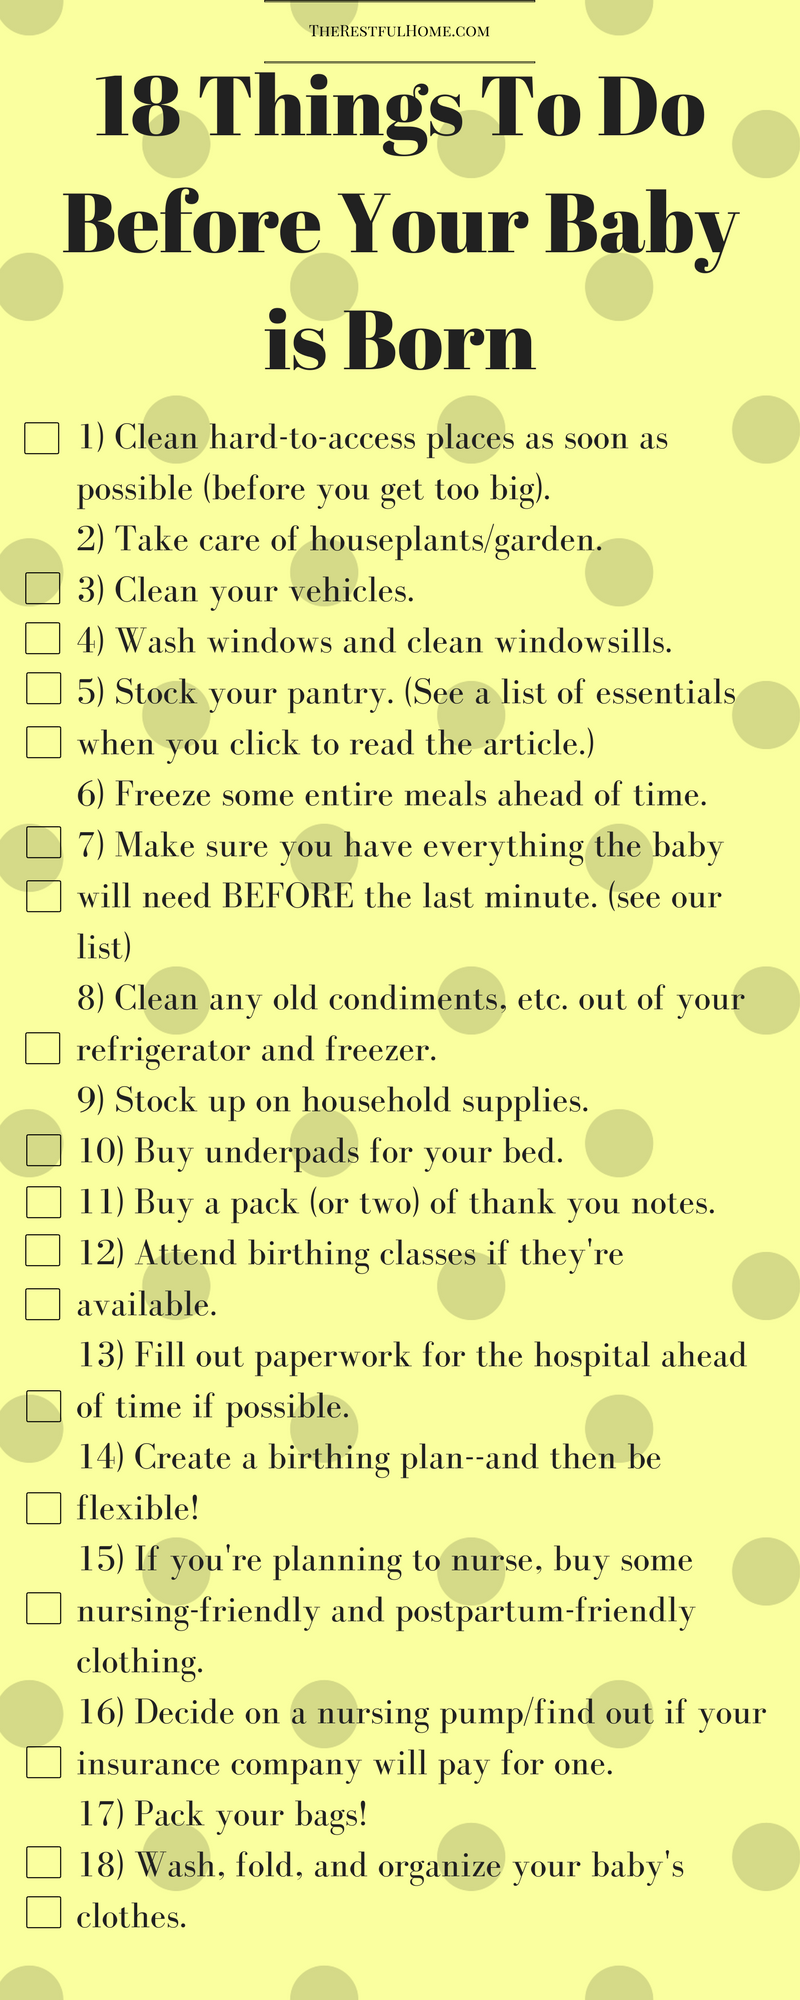
I love lists, but mostly because I get to check things off the lists! Don’t let this list overwhelm you; instead, let it be some helpful ideas from which you can pick and choose! At right is a pinnable version of the checklist, or you can download this black-and-white printable for free.
I’d love to hear from more experienced mamas: what do you always do before a new baby arrives?


 : a favorite place to walk when we can!
Once
![The first photos are of my parents’ sprawling rural Arkansas garden. The last is of my tiny little beds in the big city. Plants bring life to even the smallest corner!
I’ve been reading some beautiful fiction this year, and I just posted a review of a book by one of my favorite authors, Leif Enger. (https://therestfulhome.com/brave-young-handsome-review/ in your browser, or click on the link in my Instagram profile) If you don’t have time to read the book, though, here’s just a quote or two for your enjoyment:
🎼
“Death arrived easy as the train; [he] just climbed aboard, like the capable traveler he was.”
🛤️
On riding a horse: “You are a feeble and tenuous being; the only thing a horse wants from you is your absence.” 🐎 😄
#quotes #leifenger #amreading #gardens #gardening](https://scontent-atl3-1.cdninstagram.com/v/t39.30808-6/468657020_18342474787176025_4442629541396867851_n.jpg?_nc_cat=108&ccb=1-7&_nc_sid=18de74&_nc_ohc=DEja6UP2ct4Q7kNvgEYJxCM&_nc_zt=23&_nc_ht=scontent-atl3-1.cdninstagram.com&edm=ANo9K5cEAAAA&_nc_gid=AA4bBsvQ_JpqZXLUPUTpTC8&oh=00_AYCjI9LUx-cJxe6cu0n7H1Gounaz92aBlTrQacnKut8umg&oe=67567CAB)


Anna, this post reminds me another group of tasks I liked to keep in mind when my kids were smaller: the things I needed to do as soon as I realized any of my kids was getting sick.
Suddenly you realize all the stuff that should’ve already been done? Or do you mean like check their temps/chicken broth/hot water bottles kind of things to do?