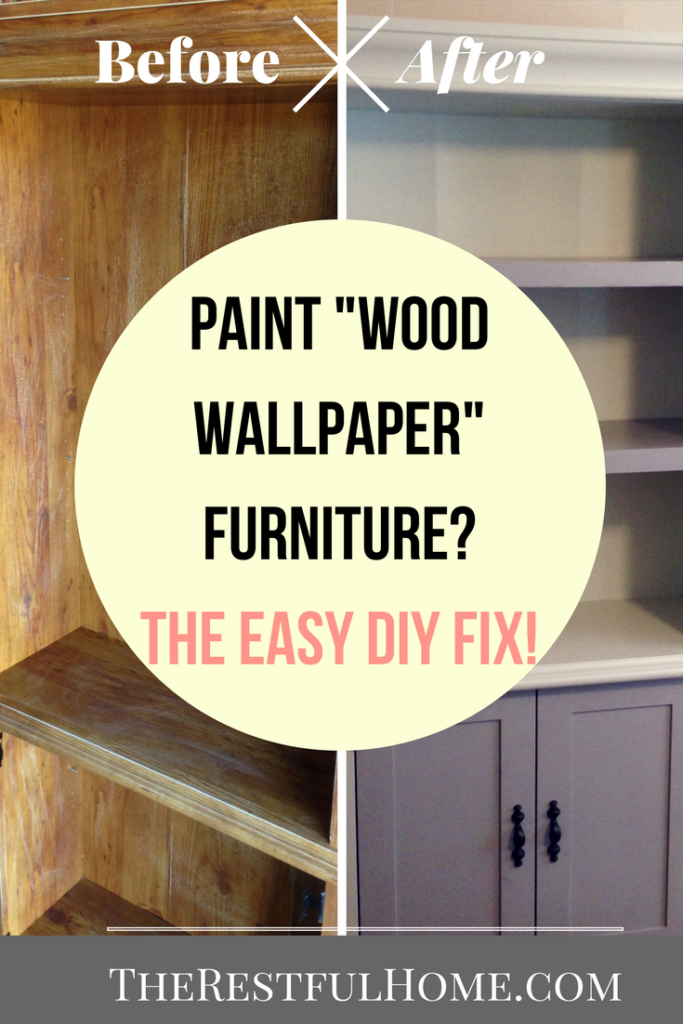
 Most of the furniture redos that you see start with either real wood or wood veneer, with only an occasional try at laminate. Real wood is best because you can usually sand it and find something worth the work. But what about what I call “wood wallpaper”? It’s the piece of wood composite furniture that has paper glued to it with a prettier wood grain, and it looks ok–until the paper starts to flake off. This is not like wood veneer, where you have a very thin layer of actual wood glued onto the composite. And painting it has the potential to turn into a papery mess. But you have that piece already, and you don’t have the hundred dollars to replace it with something nicer now that the paper is peeling. So the question arises: Can you paint wood wallpaper furniture?
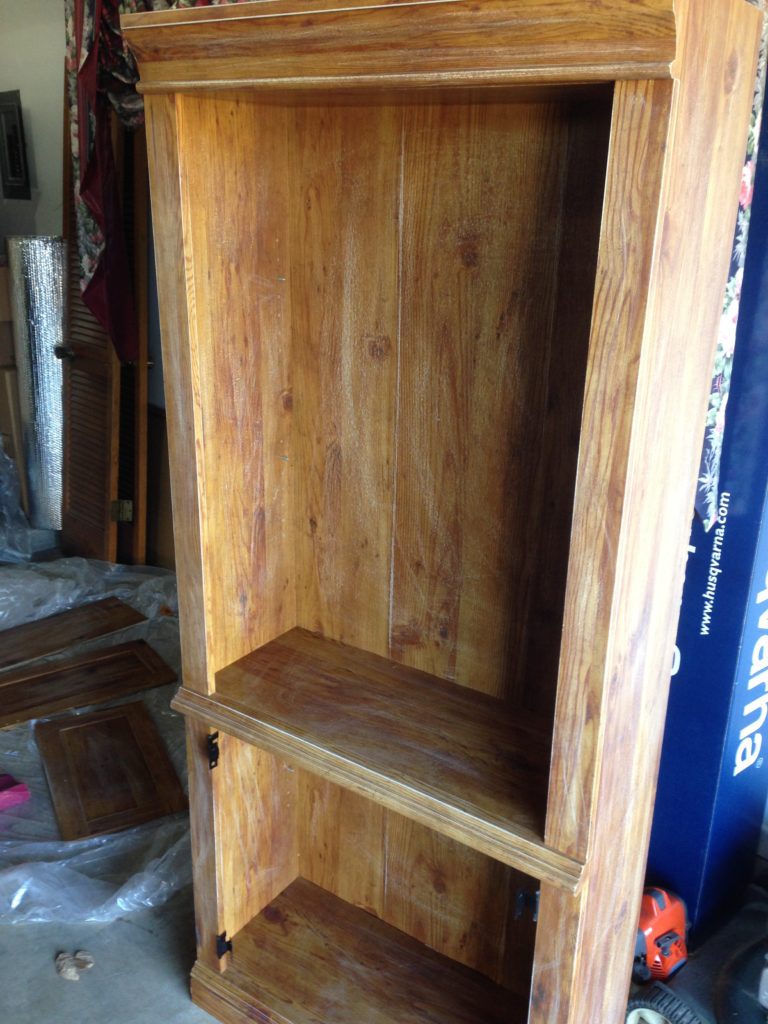 I just did! David picked up this bookshelf/cabinet on its way to the dump (not quite on the side of the road, because it would’ve already disintegrated, but close), so I decided to take a little time to try painting it. I liked the design of the actual piece, and since it was free, why not?
How to Paint Wood Wallpaper Furniture – As Easy as 1, 2, 3, 4!
1) Sand the whole thing after taking off doors/shelves.
In the picture at left, I’d already started sanding the piece. Why sand if it’s not real wood? Because the paint needs a rough surface to which it can bond. I used a coarse grit sandpaper for most of it. (For roughing up surfaces, you don’t want a higher-number grit sandpaper, such as 3000–those are for finishing surfaces and making them smooth. You want something more like this 100-grit sandpaper.)
Here’s the thing with wood paper surfaces–you’re going to find several spots where the paper is licking up, detaching from the wood composite below. Rip all that loose paper off ruthlessly. Do NOT leave any peeling paper on a piece you’re about to paint, or you’ll regret it later when all your paint begins to peel up with it.
2) Choose Your Colors
I decided to go with not only 2 different colors but with 2 different types of paint. I still had some of the Rustoleum Aged Gray Chalked Paint left (seriously, that stuff lasts forever–I’d already done the whole dresser) and I’d like my furniture to coordinate at least a little bit. (Stop laughing, people who know my decorating-challenged self!) 
3) Priming Time!
I didn’t prime the shelves and doors, because they were getting the chalked paint, which I haven’t had to use primer with so far. However, the rest of the piece definitely needed priming. Latex Kilz to the rescue! This one-quart can was more than enough to cover the whole piece.
4) Paint to Your Heart’s Content
The chalked paint took 2 coats. The latex paint took 3 coats, and probably would’ve taken more like 6 if I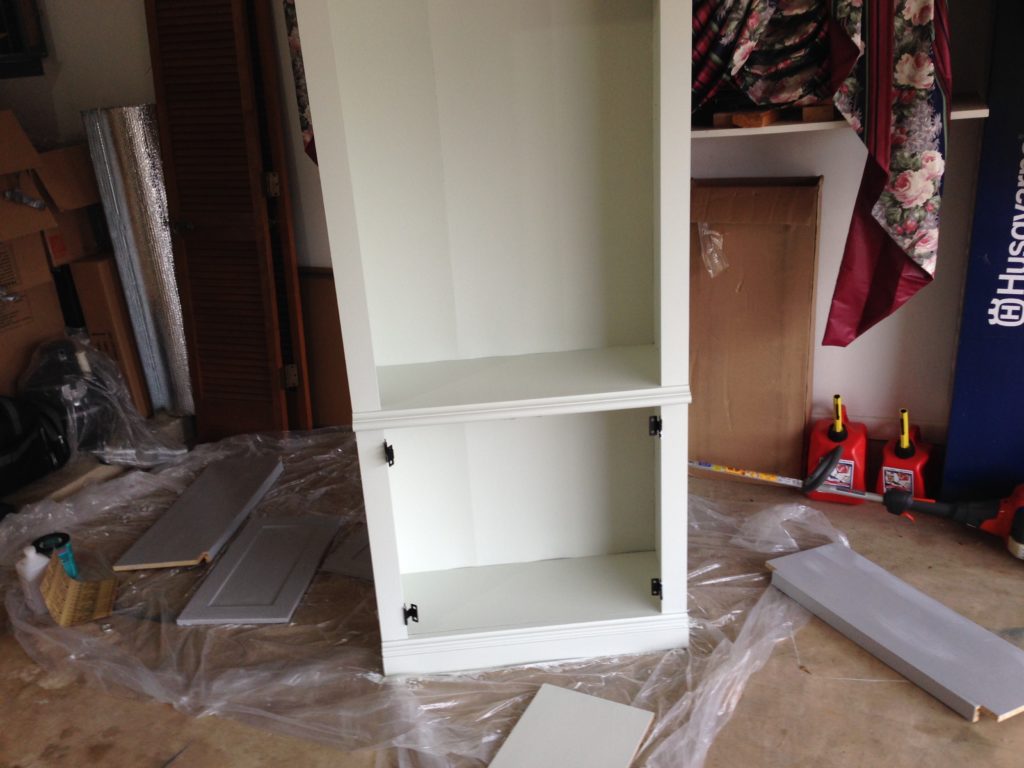 hadn’t primed. This piece was like a sponge! The picture at right was taken in our garage after probably the 2nd coat of Misty China Rain Green. (Don’t you love that paint color name? And, yes, those are gas cans–probably not my best idea ever! Also an old piece of flowery drapery from our 70s house…) At this stage, David was very unsure about the whole bicolor idea. But when it all came together, he loved it! (I ended up doing something similar with the vanity in our bedroom, painting the same Aged Gray color on the cabinet doors.)
5) Replace doors and shelves.
This is the easy part–unless you put too many coats of 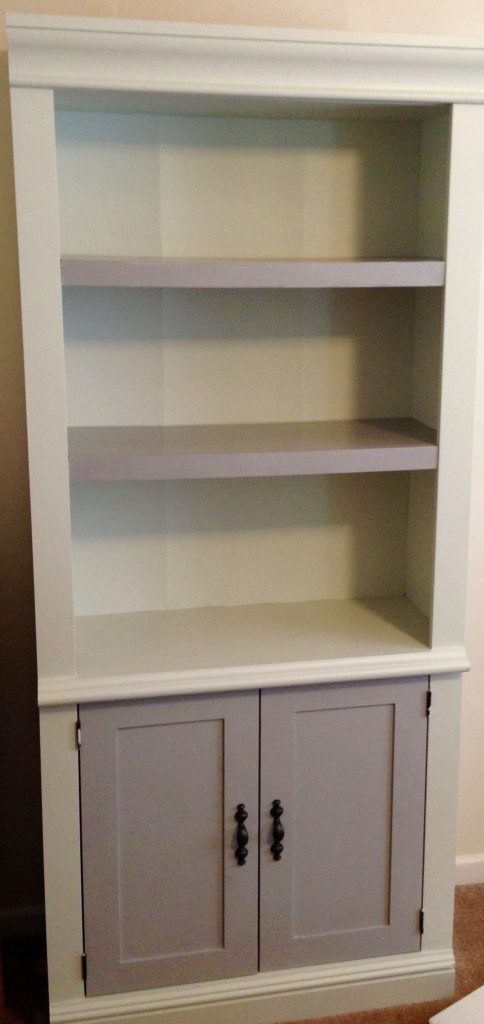 paint on the shelves! When we replaced the shelves, our paint got scraped a little because we had to push to get the shelves back in. Because of the front facing pieces, though, we never see the scraped part. (Whew!)
You can see the lines of the separate cardboard/woodchip backing boards in the picture at right. To get rid of that we’d have to replace the backing, but since we’re using these for office shelving, we’re happy with the result.
Below is a picture of the shelf hosting David’s yearbooks and some of our wedding decor. Eventually, the shelves will probably get loaded down with books, since our collection is always expanding. But for now, they can just make David’s home office look a little prettier. (You can see on top of the cabinet evidence of David’s smart home project! Read his article on how to set up your own smart home HERE.)
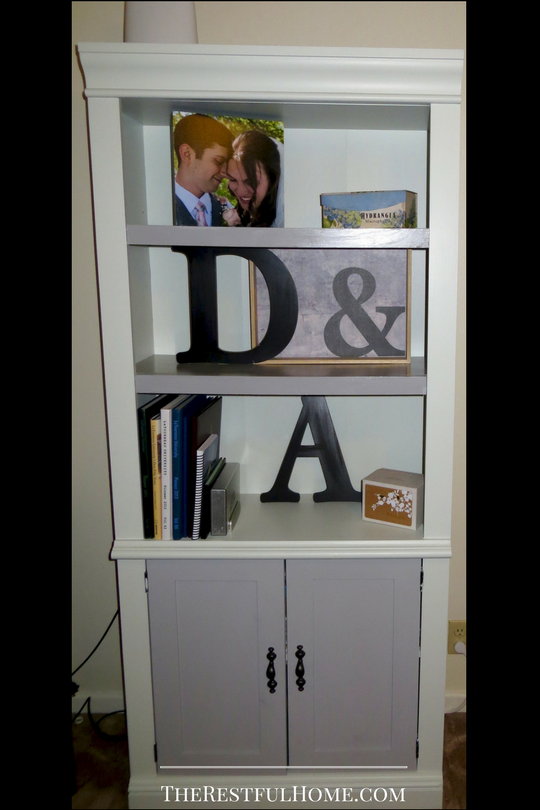 Have you tried to paint wood wallpaper furniture?
Did you sand ahead of time? Did you run into any problems? We’d love to hear from you in the comments!
For a roundup of pictures of 10 furniture redos that have inspired me, read this post.


 : a favorite place to walk when we can!
Once
![The first photos are of my parents’ sprawling rural Arkansas garden. The last is of my tiny little beds in the big city. Plants bring life to even the smallest corner!
I’ve been reading some beautiful fiction this year, and I just posted a review of a book by one of my favorite authors, Leif Enger. (https://therestfulhome.com/brave-young-handsome-review/ in your browser, or click on the link in my Instagram profile) If you don’t have time to read the book, though, here’s just a quote or two for your enjoyment:
🎼
“Death arrived easy as the train; [he] just climbed aboard, like the capable traveler he was.”
🛤️
On riding a horse: “You are a feeble and tenuous being; the only thing a horse wants from you is your absence.” 🐎 😄
#quotes #leifenger #amreading #gardens #gardening](https://scontent-atl3-1.cdninstagram.com/v/t39.30808-6/468657020_18342474787176025_4442629541396867851_n.jpg?_nc_cat=108&ccb=1-7&_nc_sid=18de74&_nc_ohc=DEja6UP2ct4Q7kNvgEYJxCM&_nc_zt=23&_nc_ht=scontent-atl3-1.cdninstagram.com&edm=ANo9K5cEAAAA&_nc_gid=AA4bBsvQ_JpqZXLUPUTpTC8&oh=00_AYCjI9LUx-cJxe6cu0n7H1Gounaz92aBlTrQacnKut8umg&oe=67567CAB)


