

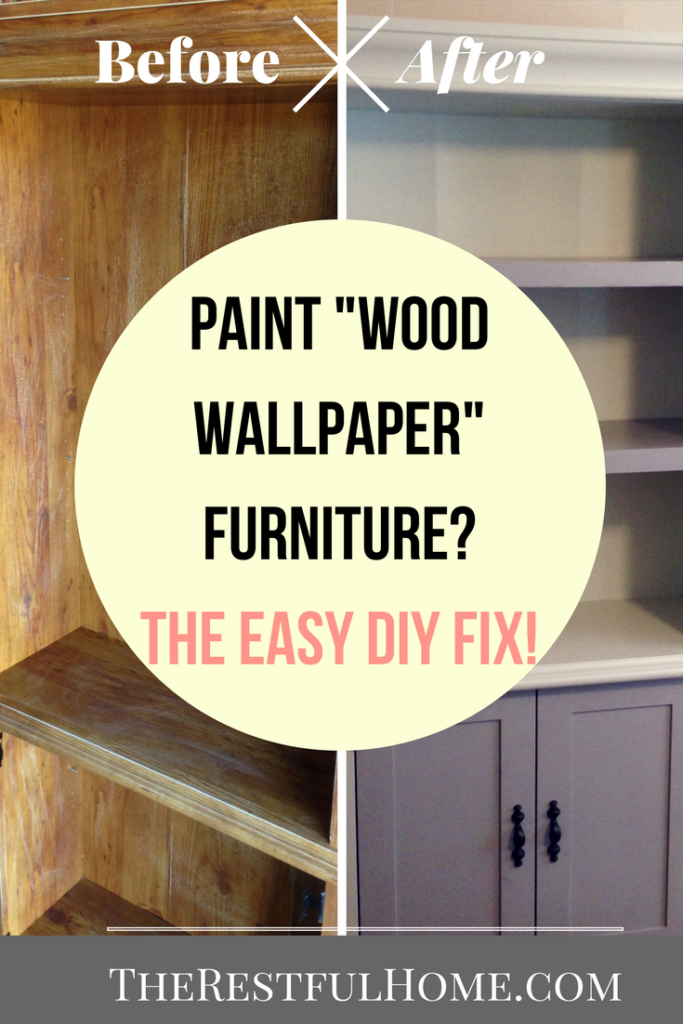


How to Paint Wood Wallpaper Furniture – As Easy as 1, 2, 3, 4!
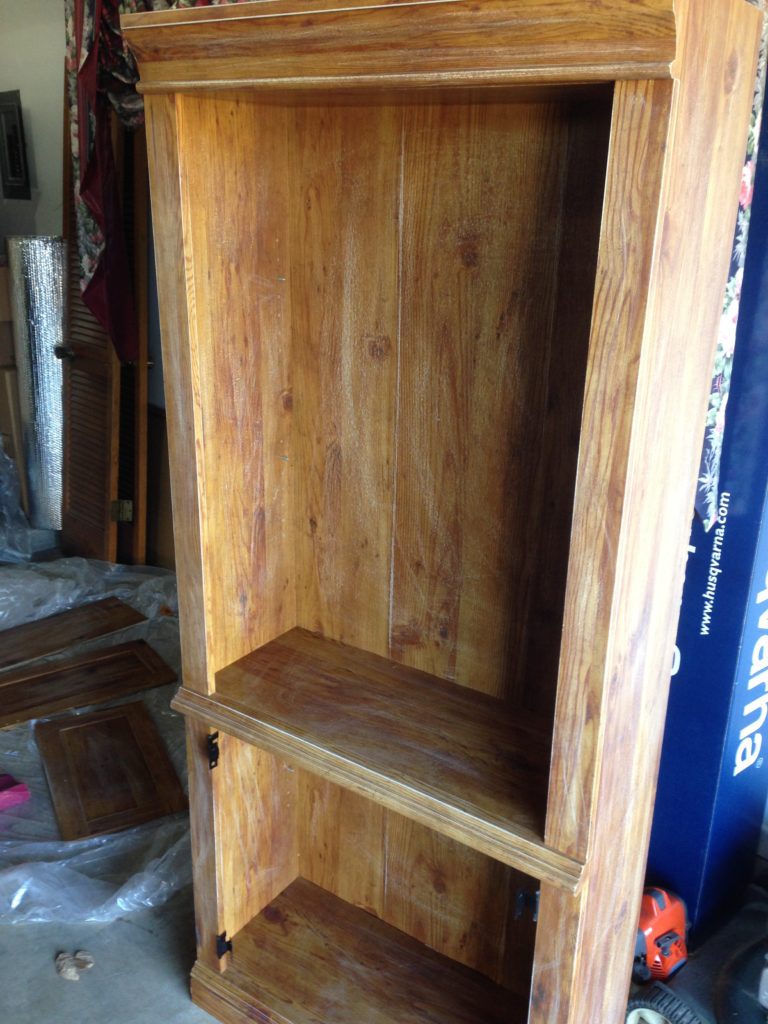
1) Sand the whole thing after taking off doors/shelves.
In the picture at left, I’d already started sanding the piece. Why sand if it’s not real wood? Because the paint needs a rough surface to which it can bond. I used a coarse grit sandpaper for most of it. (For roughing up surfaces, you don’t want a higher-number grit sandpaper, such as 3000–those are for finishing surfaces and making them smooth. You want something more like this 100-grit sandpaper.)
Here’s the thing with wood paper surfaces–you’re going to find several spots where the paper is licking up, detaching from the wood composite below. Rip all that loose paper off ruthlessly. Do NOT leave any peeling paper on a piece you’re about to paint, or you’ll regret it later when all your paint begins to peel up with it.
2) Choose Your Colors
I decided to go with not only 2 different colors but with 2 different types of paint. I still had some of the Rustoleum Aged Gray Chalked Paint left (seriously, that stuff lasts forever–I’d already done the whole dresser) and I’d like my furniture to coordinate at least a little bit. (Stop laughing, people who know my decorating-challenged self!) 😉 I didn’t want to buy expensive paint for the piece because it was so cheap (free) to begin with. Wood wallpaper, folks. Not valuable real wood. The main color for the piece was cheap Glidden Eggshell finish paint from Walmart in Misty China Rain Green. I wanted a barely-there green that wasn’t mint.
3) Priming Time!
I didn’t prime the shelves and doors, because they were getting the chalked paint, which I haven’t had to use primer with so far. However, the rest of the piece definitely needed priming. Latex Kilz to the rescue! This one-quart can was more than enough to cover the whole piece.
4) Paint to Your Heart’s Content
The chalked paint took 2 coats. The latex paint took 3 coats, and probably would’ve taken more like 6 if I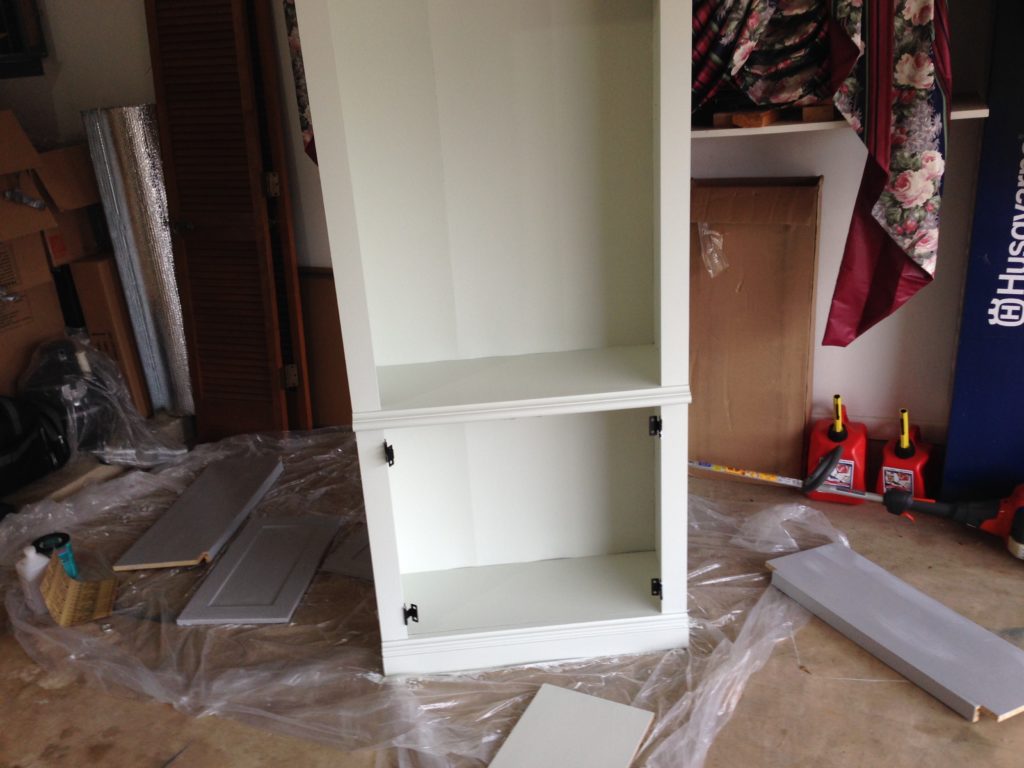

5) Replace doors and shelves.
This is the easy part–unless you put too many coats of 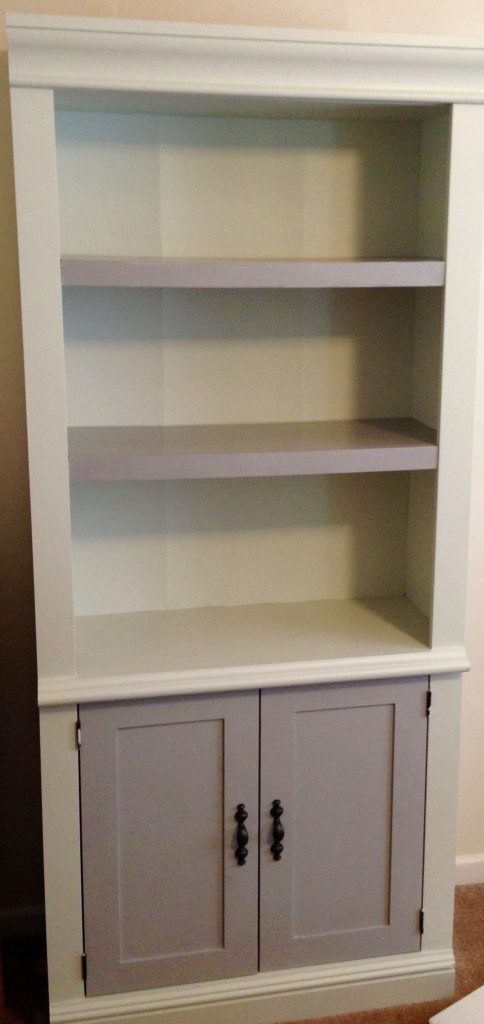

You can see the lines of the separate cardboard/woodchip backing boards in the picture at right. To get rid of that we’d have to replace the backing, but since we’re using these for office shelving, we’re happy with the result.
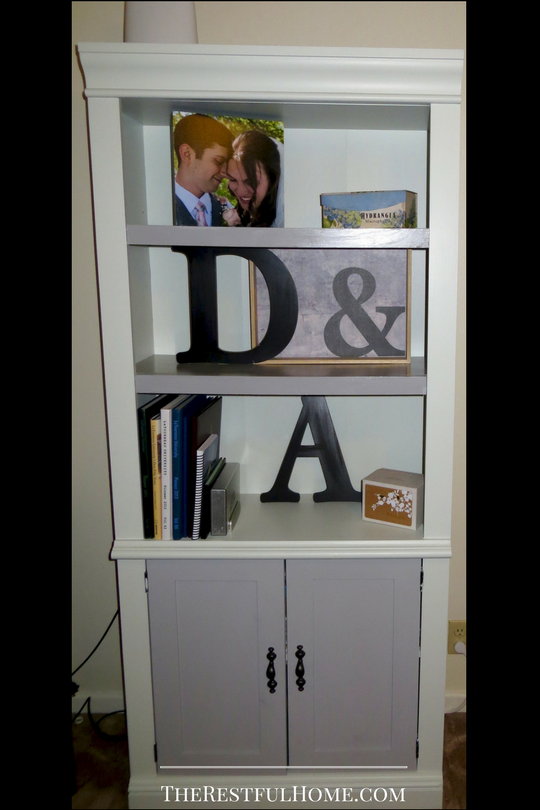
Below is a picture of the shelf hosting David’s yearbooks and some of our wedding decor. Eventually, the shelves will probably get loaded down with books, since our collection is always expanding. But for now, they can just make David’s home office look a little prettier. (You can see on top of the cabinet evidence of David’s smart home project! Read his article on how to set up your own smart home HERE.)

Did you sand ahead of time? Did you run into any problems? We’d love to hear from you in the comments!
For a roundup of pictures of 10 furniture redos that have inspired me, read this post.